(1) Drawbacks of Polishing Quality Issues
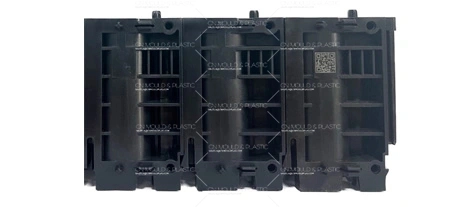
1) The edge of the cavity’s inner hole may have collapsed corners, mixed angles, or bruises, and after polishing, the opening of the inner hole may enlarge (commonly known as a trumpet-shaped hole).
2) The mold surface may have poor flatness, with indentations, uneven planes, or wave marks.
3) Lines, arcs, and contour lines may have poor clarity.
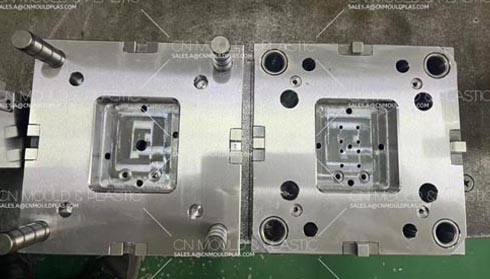
4) The surface may show orange peel and pitting.
5) The polishing direction may not align with the demolding direction.
6) The surface roughness may fail to meet the required standards.
(2) Issues to Pay Attention to During Process Operations
1) When changing to different sandpaper grades, the polishing direction should be adjusted by 45° to 90°. Before changing sandpaper grades, the polishing surface must be carefully wiped with a 100% cotton swab soaked in alcohol or other cleaning solutions. When switching from sandpaper to polishing paste, the process is crucial, and all particles and kerosene must be thoroughly cleaned before continuing polishing.
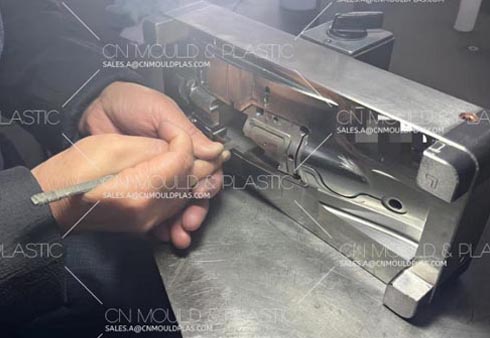
2) To avoid scratching or burning the mold surface, polishing with 1200-grit and 1500-grit sandpaper should be done with light pressure and in two different directions, rotating by 45° to 90° each time.
3) Choose the appropriate polishing tools and abrasive paste based on the characteristics of the surface being processed, then determine the polishing sequence for each part. For sandpaper polishing, use a soft wooden or bamboo stick, ensuring the stick matches the surface shape when polishing spherical or curved surfaces. The mold surface must remain clean, and abrasive materials should be stored separately in kerosene according to particle size. Before use, all blockages should be removed. For diamond abrasive polishing, use 30–60um abrasive paste first, followed by 8–22um, and finish with 4–8um abrasive paste. Polishing pressure should be light to avoid burning. Remember, polishing is performed by the cutting edges of fine abrasive or diamond particles, so they must be lightly pressed over the metal surface to achieve minimal cutting. Otherwise, they can embed into the metal, causing pitting. If pitting continues, internal stresses in the steel should be relieved at a temperature below the annealing temperature (100°F), followed by re-polishing with an oilstone.
4) The surface shape of the polished mold should not change in terms of sharp edges, rounded corners, flat planes, or straight lines.
5) Polishing can easily cause corner collapse, so extra attention is needed during the operation.
6) If pitting, cracks, weld scars, or pitting appear on the polished mold surface, stop polishing immediately and report to the quality department.
7) When polishing forming parts, ensure the contact area with the mold surface is as large as possible to avoid local depressions or protrusions.
8) If there are deep scratches, do not polish at the local position, as this may cause pits in that area.
9) Both easy-to-polish and difficult-to-polish areas must be evenly polished.
10) Choose a dust-free environment for polishing, especially when performing mirror polishing, which must be done under fully dust-proof conditions.
11) When polishing with diamond abrasive paste, the dimensional reduction caused by polishing should be around 0.01mm.
12) The polishing direction should be consistent with the mold opening direction to avoid interfering with demolding.

 English
  français
  Deutsch
  Español
  italiano
  русский
  português
  العربية
  dansk
dansk  Suomi
Suomi  Svenska
  norsk
norsk 

